Build Build Studio

web / commerce / systems
built across markets

Back to Blog

Playbook

WordPress media library cleanup checklist before a redesign

Before a WordPress redesign or headless migration, clean the media library like production data: inventory files, remove duplicates, protect image SEO, and map where every important asset should land.

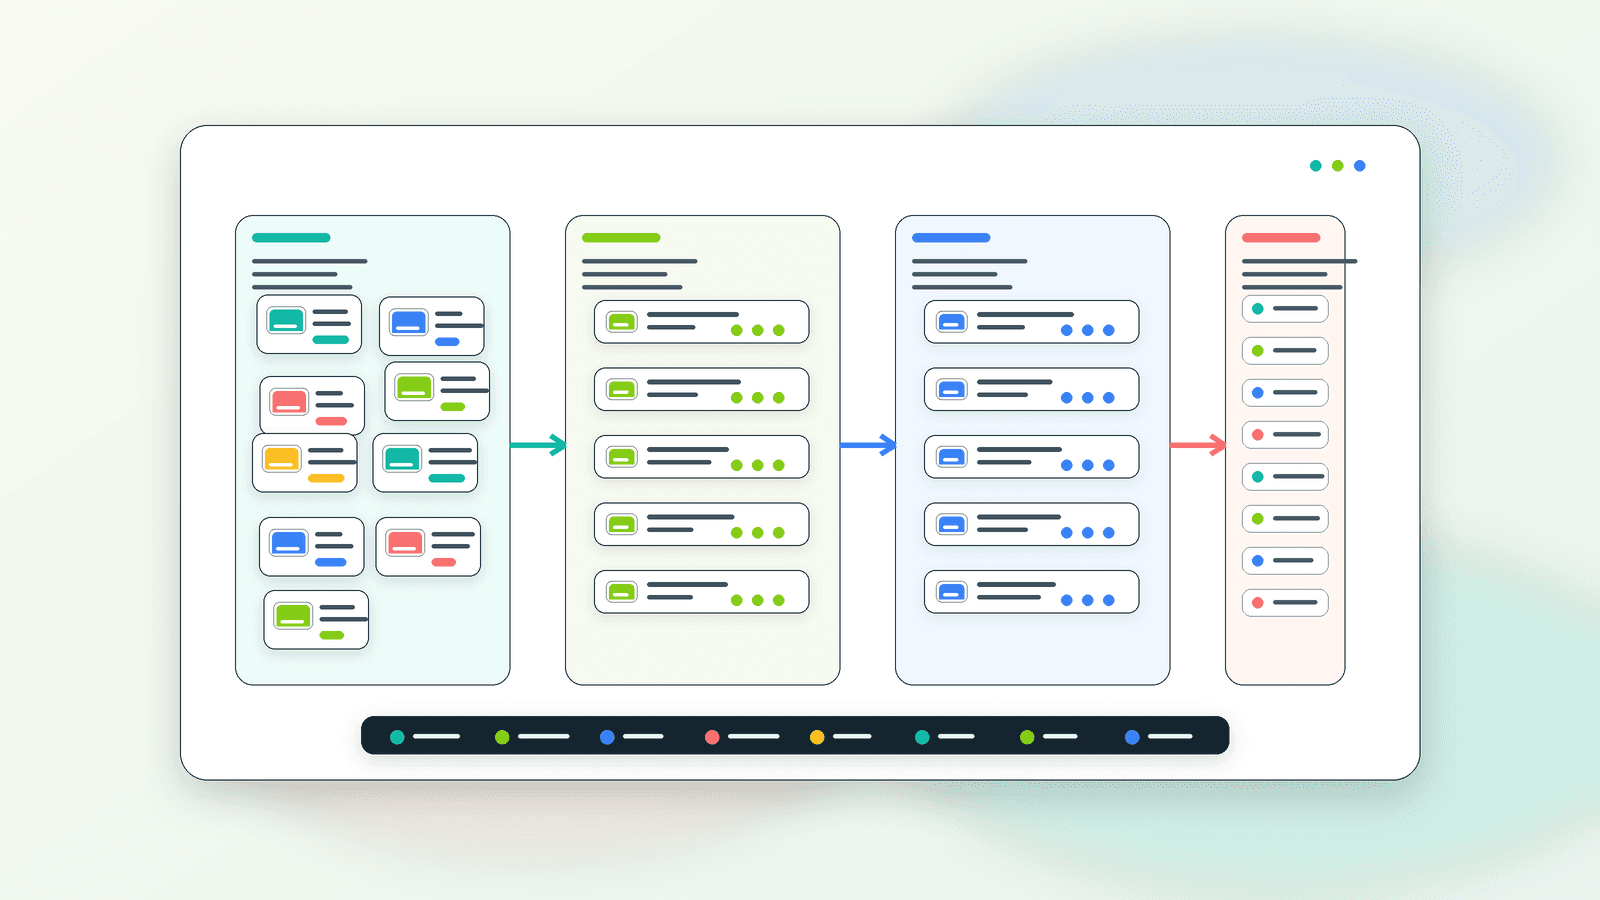
Abstract media library cleanup workflow showing image assets organized into migration lanes

Practical tool

Media cleanup

Published

Jun 23, 2026

Read time

10 min read

Topic

WordPress / Migration / Technical SEO / Operations / Playbook

01

Use this before media moves

A WordPress media library cleanup checklist helps a redesign team move images, PDFs, videos, and downloads without breaking pages, losing image SEO, or carrying years of unused files into the new site. Treat the media library as production content, not as a folder to clean up at the end.

This checklist is for WordPress theme development, website redesign, technical SEO, and maintenance support projects where the current site has hundreds or thousands of uploaded assets. Run it before the content freeze, before a headless CMS migration, and before anyone bulk-deletes files from production.

02

Step 1: Export a full media inventory

Start with a spreadsheet, not the WordPress media grid. Export file URL, attachment ID, filename, MIME type, dimensions, file size, upload date, alt text, caption, title, description, parent post, and whether the file appears in the current sitemap crawl.

Then add data from analytics, Search Console, backlink tools, and server logs if available. The goal is to identify which files support traffic, conversions, product education, documentation, case studies, or sales enablement before the redesign hides or removes them.

  • Flag images over 300 KB, PDFs over 2 MB, missing alt text, duplicate filenames, and files with unclear ownership.
  • Separate public content assets from editor drafts, old campaign exports, theme placeholders, backups, and temporary screenshots.
  • Mark assets used on the top 50 landing pages, top 20 converting pages, and any pages with external links.
  • Keep the original media URL and planned new URL in separate columns so redirect QA is possible later.

03

Step 2: Classify every asset by migration decision

Do not let cleanup mean delete everything old. Each asset needs a decision: keep as-is, replace with an optimized version, merge with a newer duplicate, redirect to a new file, archive outside the CMS, or delete after approval. This keeps the redesign practical and auditable.

Use different rules for images, PDFs, brand assets, case study graphics, product downloads, gated resources, and legal documents. A 2019 hero image may be disposable; an old PDF with backlinks or sales-team usage may need a new destination and redirect.

  • Keep: still used by published pages, search traffic, backlinks, sales collateral, or legal requirements.
  • Replace: visually outdated but still tied to a page, offer, product, service, or conversion path.
  • Merge: duplicate or near-duplicate files where one approved version can become the source of truth.
  • Redirect or archive: assets with external links, historical value, or references outside the website.

04

Step 3: Clean filenames, alt text, and dimensions

Media cleanup should improve image SEO without rewriting history blindly. Priority images need descriptive filenames, accurate alt text, sensible dimensions, compressed file sizes, and predictable crops for each template. Avoid renaming files that already have strong external links unless the redirect plan is clear.

Create a naming pattern before export work begins. For example, use service, page, subject, and variant rather than camera filenames or random upload strings. Keep names lowercase, hyphenated, and stable enough that editors can recognize the asset later.

  • Use descriptive filenames such as wordpress-redesign-case-study-dashboard.webp instead of IMG_4821-final-new.png.
  • Keep alt text specific and useful; avoid keyword stuffing and avoid repeating the page title on every image.
  • Define crop requirements for 16:9, 4:3, 1:1, and mobile hero assets before images are regenerated.
  • Compress exports and confirm WebP or AVIF fallbacks work in the new stack where relevant.

05

Step 4: Map assets to templates and page owners

The media library should not be cleaned in isolation from templates. Map each priority asset to the page, block, custom post type, product, resource, or reusable module where it appears. This matters when a redesign changes page structure, image ratios, CMS fields, or content ownership.

Assign an owner for each asset group. Marketing may own service-page images, sales may own PDF downloads, product may own specification sheets, and legal may own policy files. Without owners, cleanup decisions become subjective and slow.

  • Create columns for current page, new page, current module, new template field, owner, decision, and launch risk.
  • Check custom post types, Advanced Custom Fields, page builders, menus, widgets, forms, and theme options for media references.
  • Mark assets that must be reviewed in staging because image crops or aspect ratios changed.
  • Document which team can replace media after launch without developer help.

06

Step 5: Plan redirects and broken file handling

File URLs can have SEO and operational value. If PDFs, downloads, infographics, or image URLs have backlinks, search impressions, campaign links, or internal documentation references, they need redirect decisions just like pages. Do not assume attachment URLs can disappear safely.

Build a media redirect map for priority files. Some assets should redirect to a new file, some to a page that explains the updated resource, and some to a controlled 404 or archived destination. Test these rules separately from page redirects.

  • Use 301 redirects for replaced public assets that have backlinks, traffic, or campaign usage.
  • Avoid redirecting every deleted image to the homepage; that creates weak signals and poor user experience.
  • Check old upload paths such as /wp-content/uploads/yyyy/mm/file-name.ext after launch.
  • Crawl staging and production for broken image URLs, missing downloads, mixed content, and blocked media files.

07

Step 6: Rebuild only the media sizes you need

A redesign often introduces new image ratios and responsive sizes. Before regenerating every thumbnail, define the sizes the new theme actually needs: hero images, card thumbnails, gallery images, product visuals, resource previews, Open Graph images, and mobile crops.

This is also the moment to remove unused legacy sizes and plugin-generated duplicates. Fewer generated sizes reduce storage, backup weight, migration time, and editor confusion. The cleanup should make the media model easier to run after launch, not just smaller on disk.

  • List the required image sizes and where each one appears in the new design system.
  • Regenerate thumbnails in staging first and compare a sample of high-priority pages at 320 px, 768 px, 1024 px, and 1440 px widths.
  • Check lazy loading, width and height attributes, srcset output, Open Graph images, and largest contentful paint candidates.
  • Archive the pre-cleanup export so accidental deletions can be recovered during the launch window.

08

Media cleanup QA matrix

Use a QA matrix so cleanup decisions can be tested instead of remembered. Each row should represent an asset group or high-risk file. Each column should show current URL, new URL, usage, owner, decision, redirect status, alt text status, compression status, staging check, production check, and launch blocker status.

The matrix should be reviewed before content freeze and again during launch QA. If a file affects revenue, rankings, legal obligations, or sales handoff, it should not depend on a single person remembering where it was used.

  • Pass: asset is used intentionally, optimized, mapped to a new field, and tested on production-like pages.
  • Patch before launch: missing alt text, heavy file size, unclear crop, duplicate asset, or unresolved owner.
  • Block launch: broken public download, missing legal file, high-traffic image removed, or untested redirect.
  • Monitor after launch: low-risk archived files, low-traffic redirects, or content gaps discovered during crawl QA.

09

What to hand off after launch

After launch, hand off the final inventory, deleted-file list, redirect map, image-size rules, naming conventions, owner list, and recovery location. This gives the maintenance team a way to support the site without guessing why an asset was moved or removed.

Schedule a 30-day review. Compare broken-link reports, crawl data, Search Console image performance, 404 logs, form conversions, and editor questions. If the cleanup worked, the media library should be smaller, easier to search, faster to back up, and safer for future content updates.

  • Store the media inventory beside the sitemap, redirect map, content migration tracker, and launch QA notes.
  • Document who can upload, replace, rename, archive, or delete production media.
  • Review media 404s weekly for the first month and fix high-value assets first.
  • Create maintenance tickets for recurring editor confusion, heavy uploads, missing alt text, and duplicate asset patterns.

Cleanup checklist

  • 01Export a media inventory before design, development, or CMS migration work begins.
  • 02Classify files as keep, replace, merge, redirect, archive, or delete instead of deleting by instinct.
  • 03Protect image SEO by preserving priority filenames, alt text, dimensions, captions, and source-page relationships.
  • 04Map media assets to templates, redirects, and launch QA owners before content freeze.
  • 05Hand off a 30-day monitoring plan so broken images and traffic drops are caught after launch.

Keep reading

Build a site your team can keep running

Strategy, design, development, SEO foundations, and launch support for brands growing across markets.

Start a projectContact@buildbuild.studio